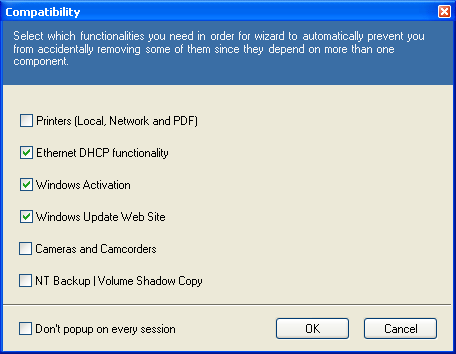
How to start nLite and begin the surgical operation on Windows XP 1. Copy all files and folders from the original Windows XP CD (we used Windows XP Home Edition) into a newly created folder called (e.g.) C:\Home. 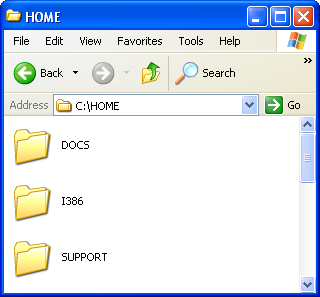 2. Now start nLite and confirm the welcome screen by clicking Next. Hit the Browse... button and select the folder where the files of the installation-CD are located (C:\Home in our example).  3. nLite will start analyzing the content and subsequently reassures the identity of your disc. After you have confirmed, youll have the freedom to choose from several options that will affect the size and the extent of your personal Windows XP Reduced Edition. In this guide we go from top to bottom and activate every single entry simply by clicking on it.  4. Click Next (twice, if you dont have any presets to load). Then the nLite assistant asks you to integrate a service pack: Hit Select and choose the Service Pack 2 file (usually xpsp2.exe or WindowsXP-KB835935-SP2-ENU.exe). Note: Service Pack 2 updates your Windows XP with the latest security technology and several fixes that will automatically solve most known problems. You can download it from the Windows XP SP2 Download Page or you can Order a Service Pack 2 CD! 5. nLite will now extract the Service Pack 2 files from the .exe-archive. Click Next and select specific hotfixes that have been released after the SP2 publication (so-called post-SP2 fixes). Note: You can manually download specific hotfixes, patches and security updates from the Windows Update-Catalog! 6. After clicking Next you will be able to integrate device drivers into your personal Windows XP installation-CD. Note: In order to proceed you must first ensure that the .inf-file of your device drivers (e.g. nv4_disp) are already available or extracted since these files will be integrated into the installation. For example, if you have downloaded the latest Nvidia-driver for your graphic card it will be an .exe-file, e.g. called 67.66_win2kxp_international.exe. If you want to extract the necessary files out of the archive you can simply start the setup assistant (by double-clicking it) and select a destination folder. Now discontinue with the installation and open up the directory (e.g. C:\NVIDIA\Win2KXP\67.66), that now holds the nv4_disp.info, through nLite. In most cases drivers come as a .zip-File which can easily be extracted using WinAce! In the extracted folder you will most likely find the .inf-file. 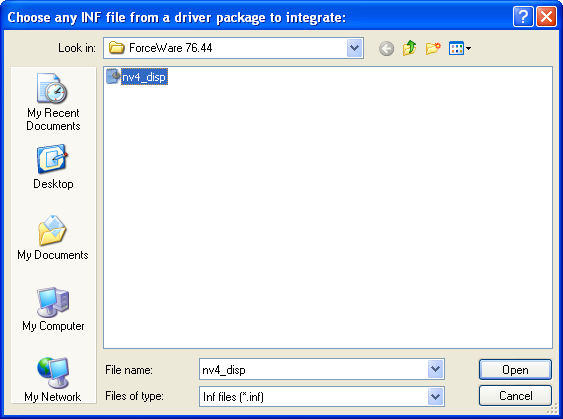 7. Click Next again and select what kind of compatibility you need: - Printers (Local, Network and PDF): Enables the printer spooler that provides support for printing. If your computer is connected to a printer or to a network with a shared printer you might want to keep this feature enabled.
- Ethernet DHCP functionality: Enables the whole network functionality and DHCP (Dynamic Host Configuration Protocol; is providing a mechanism that allocates IP-addresses to hosts/clients). Note: Broadband connection relies on this functionality!
- Windows Activation: Should definitely be enabled since you wont be able to activate Windows XP over the internet or phone. You cannot use the operating system Windows XP without activating it after a certain time.
- Windows Update Web Site: We recommend enabling this feature since it provides the easiest way of securing, enhancing and fixing your Windows XP.
- Cameras and Camcorders: Enables or disables the support and the transfer assistant for digital still cameras and camcorders.
- NT Backup/Volume Shadow Copy: If you rather prefer to manually perform a backup or use a professional third party solution, you can disable it with a clear conscience.
 |