
Quick overview:
Whether under Windows 98 or other operating systems: The graphics card is the component of your computer that is responsible for the visual action on the monitor. Click here to find out more about this hardware and the technical terms now used.
In many cases, Windows 98 recognizes the graphics card and automatically sets the most ergonomic resolution, colour depth and refresh rate so that your eyes do not get tired while working. Unfortunately, Win98 only offers standard drivers, which cannot exploit the true potential of the card in terms of performance and functions. For this reason, it is advisable to use the manufacturer's specially tailored drivers.
How Win 98 recognizes the graphics card
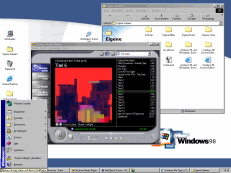
In particularly hard cases, Windows 98 does not recognize your graphics hardware at all and sets low default values. Here you can see an example with the meagre resolution of 640x480 and sparse 16 colors at an eye-watering 60Hz:
You can only counteract this situation with the manufacturer's drivers - only then can the loveless and harmful monitor image be transformed into a feast for the eyes. And this is how you proceed:
1. Select the appropriate manufacturer for your graphics card from this list and visit their driver pages to download the latest versions. For owners of Nvidia GeForce cards, I can highly recommend the driver labeled Nvidia Detonator 44.03, as it is the fastest and most stable driver in the large Detonator series to date. You can find this and many others at www.guru3d.com. If your card is running a Kyro II chip from PowerVR, I recommend the latest reference driver from www.powervr.com
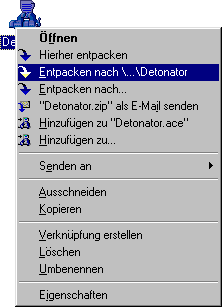
2. In particularly convenient cases, the downloaded file is an installation program that you run directly by double-clicking. Sometimes a special obstacle is placed in the way: The files are in ZIP format, which you first convert into a readable format by right-clicking on the file and selecting Extract from the menu. The program www.winace.com is required for unpacking!
Now these should be available in a folder. I will now continue in this guide with this cumbersome example using a GeForce II GTS.
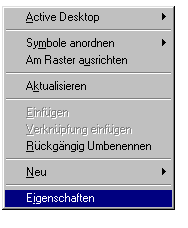
3. After the files have been unpacked, right-click on any part of the Windows interface (Desktop) and select Properties.
4. A new window pops up in which you highlight the Settings tab and immediately click on More options at the bottom.
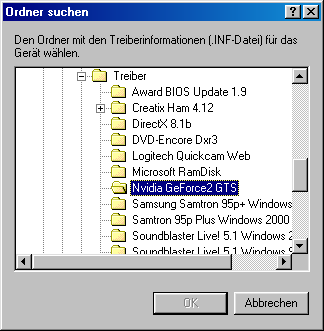
5. Another window opens before your eyes. Now go straight to the Graphics card tab and click on Change. The driver wizard starts and after clicking on Next, select the entry Search for a better driver than the one currently in use. Master the next selection by first clicking on Enter a position and then on Browse. A folder window will now open. Now navigate to the folder that you unpacked earlier and select it. Click on OK to confirm your action.
6. The drivers will be recognized and installed after your OK confirmation until the message Finish, which you confirm immediately. You should now restart your computer - you will receive a separate prompt to do so.
7. After a restart, your Windows Me interface shines in glorious splendor with high refresh rates and lots of colors.
Since the installation of the graphics card is now complete, we need to move on to the finishing touches and the optimized settings, which you can read about in detail in this article: The optimal settings for your graphics card - tips for the perfect picture
You can also go straight from picture to sound: Simple sound card driver setup and facts, tips and quality tuning
NOTE FOR NEW PUBLICATION: This article was produced by Sandro Villinger and comes from the Windows Tweaks archive, which has been built up since the late 1990s.

On Windows Tweaks you will find time-saving tech guides for PC, software & Microsoft. For a stress-free digital everyday life. Already We have been tweaking Windows since 1998 and just don't stop!
